Deno runtime is a Javascript, Typescript, and WebAssembly Runtime made with V8, Rust, and Tokio. Let’s take a look at a simple example and see how it compares to nodejs.
The Environment
The local environment used in this post is as follows.
Machine: Macbook Pro (16-inchim, 2021), Apple M1 Pro
OS: MacOS Monterey 12.6.3
Installing Deno
Refer to Deno installation and execute the command below to install Deno.
curl -fsSL https://deno.land/x/install/install.sh | sh
The deno binary will be installed automatically, and execute the command below to register the deno binary in the PATH.
cat <<EOF >>$HOME/.zshrc
# Deno
export DENO_INSTALL="/Users/user/.deno"
export PATH="\$DENO_INSTALL/bin:\$PATH"
EOF
source $HOME/.zshrc
Verify the installation of the Deno binary
$ deno --version
deno 1.36.3 (release, aarch64-apple-darwin)
v8 11.6.189.12
typescript 5.1.6
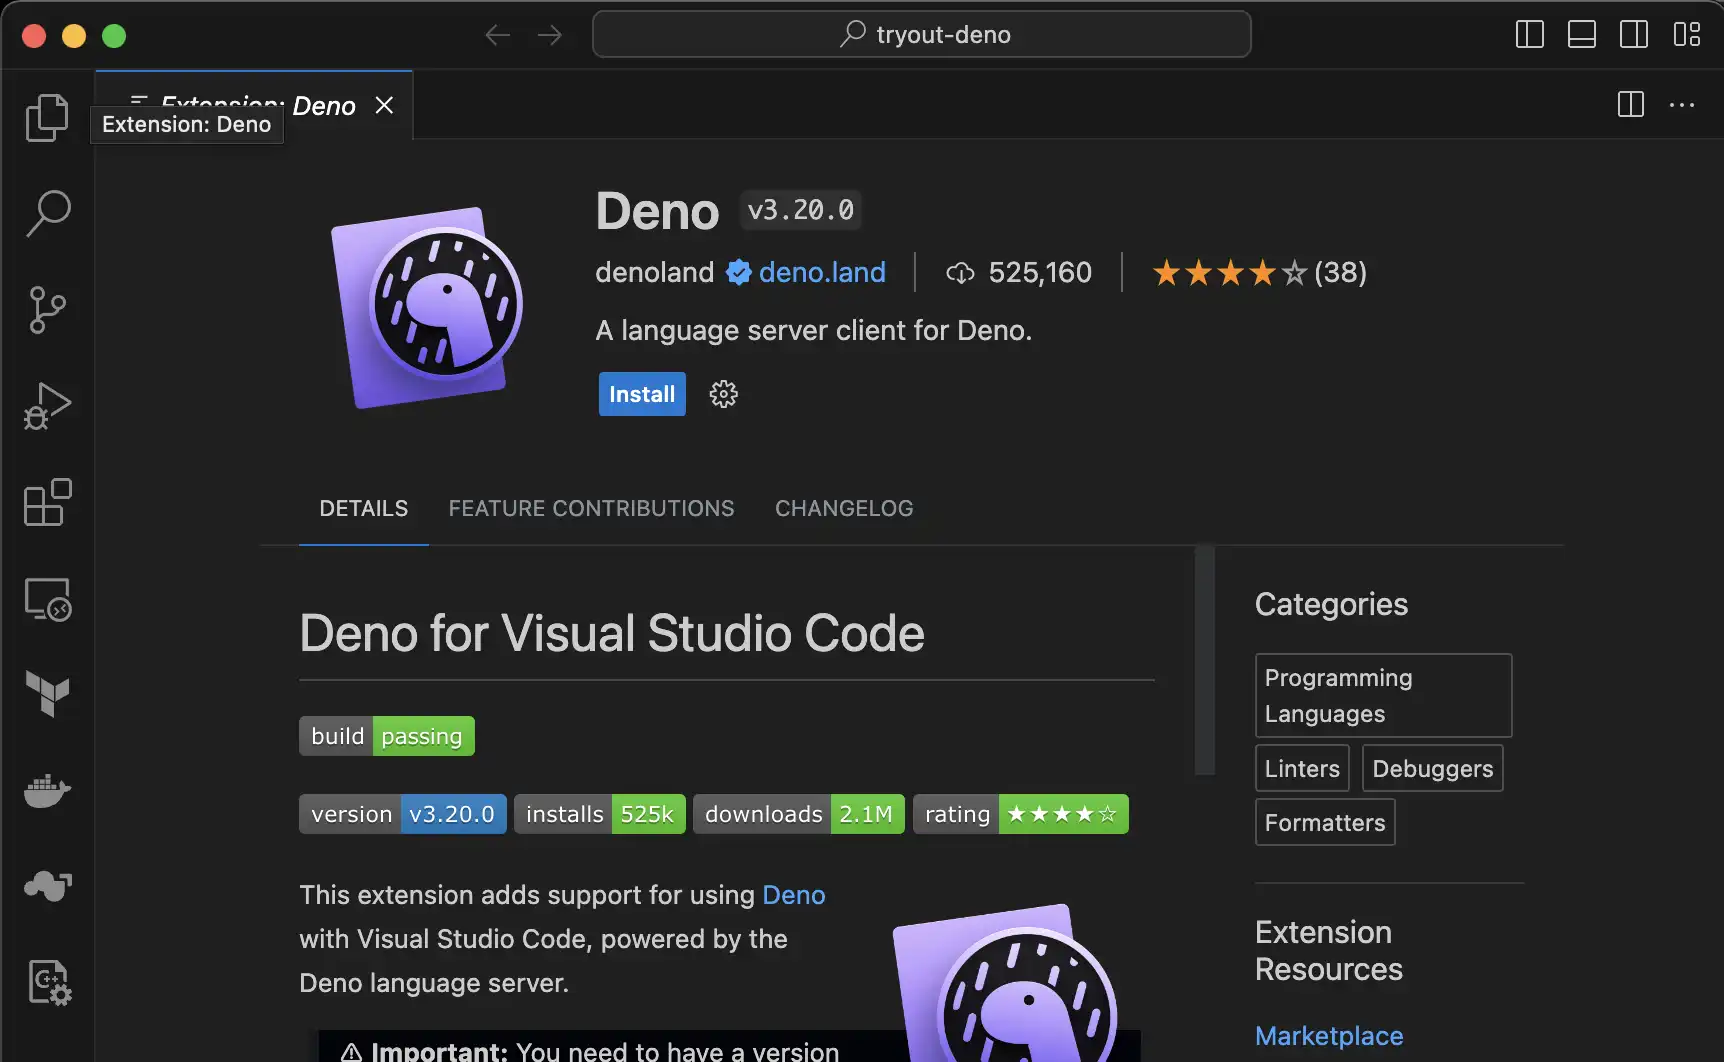
Install the Deno vscode plugin
For developers who use vscode as their IDE, we provide the deno plugin. Click the install button to install it.
Then, create the file below to enable the deno plugin in the deno-related workspace of vscode. (If you already have the file, add the key/values to the json).
# path: .vscode/settings.json
{
  "deno.enable": true,
  "deno.lint": true,
  "editor.formatOnSave": true,
  "[typescript]": { "editor.defaultFormatter": "denoland.vscode-deno" }
}
Run the Hello, World example
Create a tryout-deno.ts typescript file like below and copy and paste the code below into it.
# tryout-deno.ts
console.log('Hello, World!')
If you run the above code like below, Hello, World!will be displayed. You don’t need to install any typescript related libraries, it is supported by deno binary.
$ deno run tryout-deno.ts
If you run the above code, Hello, World!
Create a deno project
Let’s create a sample code of deno using deno binary and give a brief explanation of the created files. Enter the command below to create it.
deno init
This will create 4 files like below.
$ tree
.
├── deno.jsonc
├── main.ts
├── main_bench.ts
└── main_test.ts

1 directory, 4 files
- deno.jsonc: The configuration file for deno,
like package.json. For more information, please see here. - main.ts: The auto-generated example has a simple add function and examples. In the task
in deno.jsoncabove, adevtask is specified as an example that can perform thatmain.ts. - main_bench.ts: deno provides APIs and tools to benchmarkthrough
deno bench. In the current example, there is an example benchmark for the add functionin main.ts. - main_test.ts: deno provides APIs and tools for testingthrough
deno test. In the current example book, there is a test example for the add functionin main.ts.
Conclusion
After installing the deno binary and generating a simple sample code, I took a quick look at the generated files. I felt that it was different to have native support for typescript than node, and to be able to specify it directly in the code without having to install a package. Next time, I will try to write a backend server using deno.
Comments