Windwos에서 Podman Desktop으로 Container 관리하기
Podman에서도 Docker Desktop처럼 Podman Desktop이라는 GUI tool이 release되었습니다. Podman Desktop에서는 크게 2가지 feature로 분류하여 사용할 수 있는 방법에 대해서 설명하고 있습니다.
- Container 빌드 및 관리
- Kubernetes의 접속 및 해당 cluster의 pod 관리
오늘은 Podman Desktop을 Windows에 설치해보고 podman을 GUI를 통해서 얼마나 쉽게 쓸 수 있는지 확인해보려고 합니다.
Environment
해당 글을 작성하기 위해 사용된 OS는 아래와 같습니다.
OS: Windows 11 Home(22H2)
Podman Desktop 설치
Podman Desktop Downloads page에 들어가서 각 환경에 맞는 버전을 다운로드하고 설치합니다. 저의 경우 Windows x64를 사용하고 있으므로 Windows x64를 클릭해서 설치했습니다. 설치 파일을 실행하면 progress bar가 뜨고, 금방 아래와 같은 화면이 나옵니다.
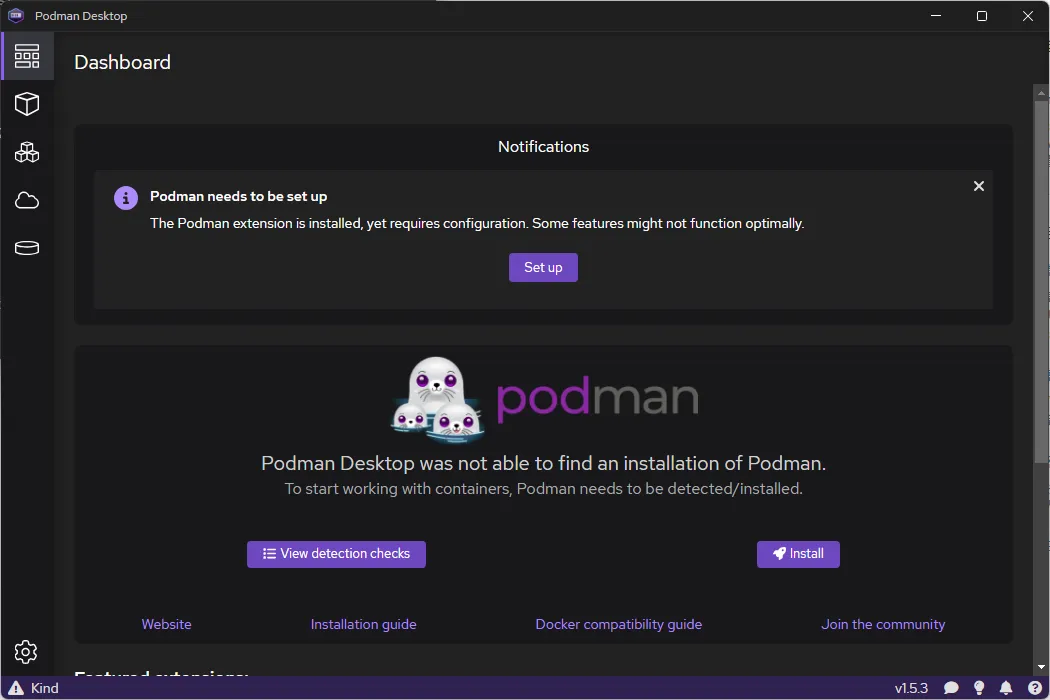
우선, Notifications에 podman을 먼저 설정해달라고 뜹니다. 저는 아직 Windows PC에 podman을 설치하지 않아서 이런 알림이 나오고 있네요. 혹시라도 Podman을 설치하신 분들은 다음 과정은 넘어가셔도 좋습니다.
Podman 설치
Notifications에 Set up을 눌러서 podman을 Windows PC에 설치해보겠습니다. 그러면 귀여운 두더지와 함께 podman을 설치하겠다는 화면이 나옵니다.
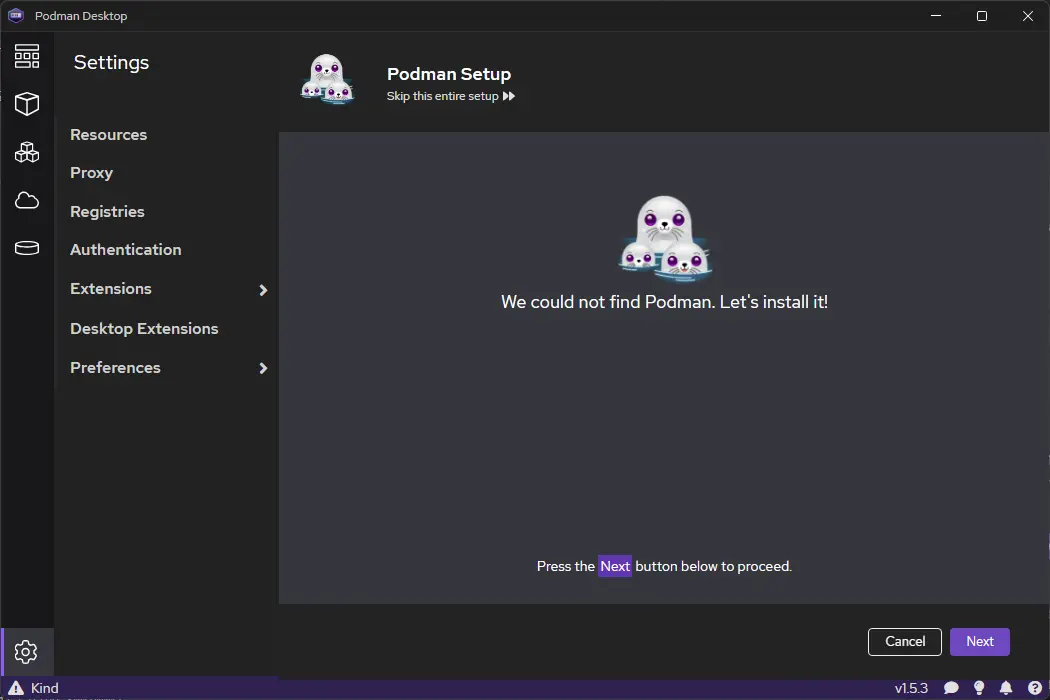
Next를 눌러서 podman을 설치해보겠습니다. 그러면 podman이 현재 시스템에 설치되어 있지 않고, Podman 4.7.2를 설치 할거냐고 물어봅니다.(제가 설치할 때는 4.8.2가 최신 버전이었는데 4.7.2를 자동으로 설치하는 것을 보면 podman desktop의 경우 일부러 낮은 버전을 사용하는게 아닐까 싶네요)
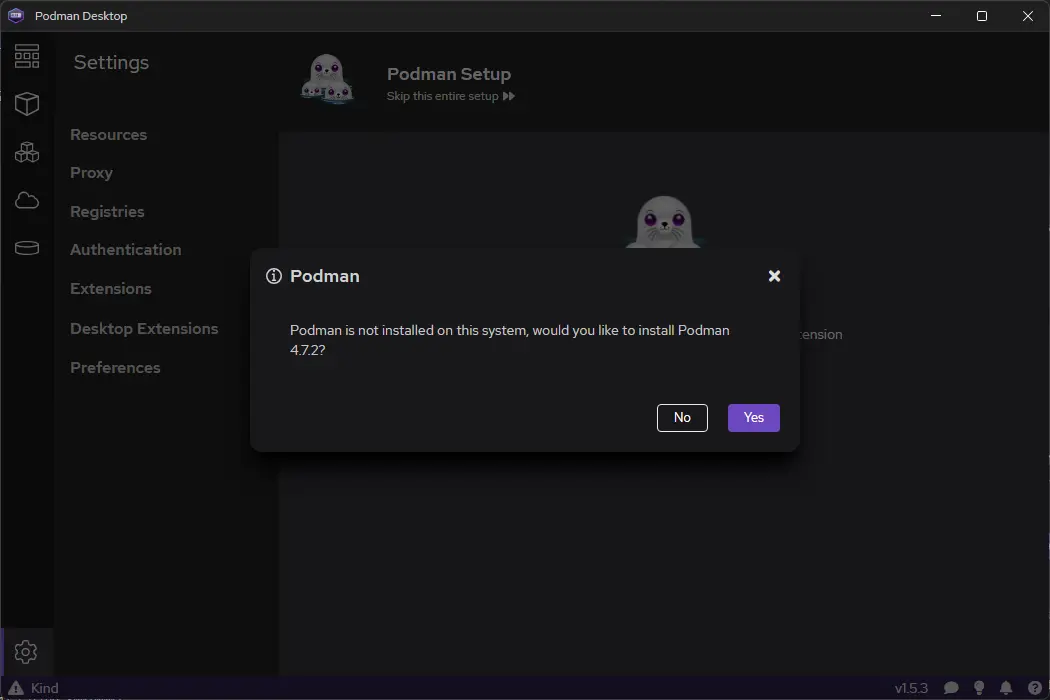
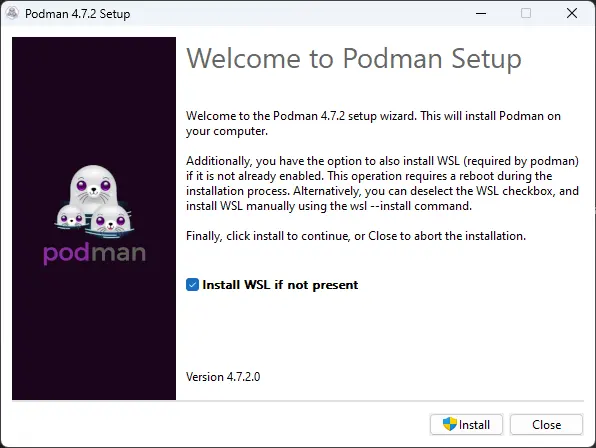
Yes를 누르게 되면 podman을 설치하는 창이 뜨게 됩니다. 여기서 Install WSL if not present옵션의 경우 Windows에서 WSL이 설치되지 않은 경우 WSL을 설치하겠다는 옵션입니다. 저는 이미 WSL 2로 Ubuntu 22.04 버전이 설치되어 있어서 WSL은 설치되지 않았습니다.
podman이 자동으로 설치되고 나서 아래와 같은 창이 뜨게 되고, close를 눌러서 설치를 종료해줍니다.
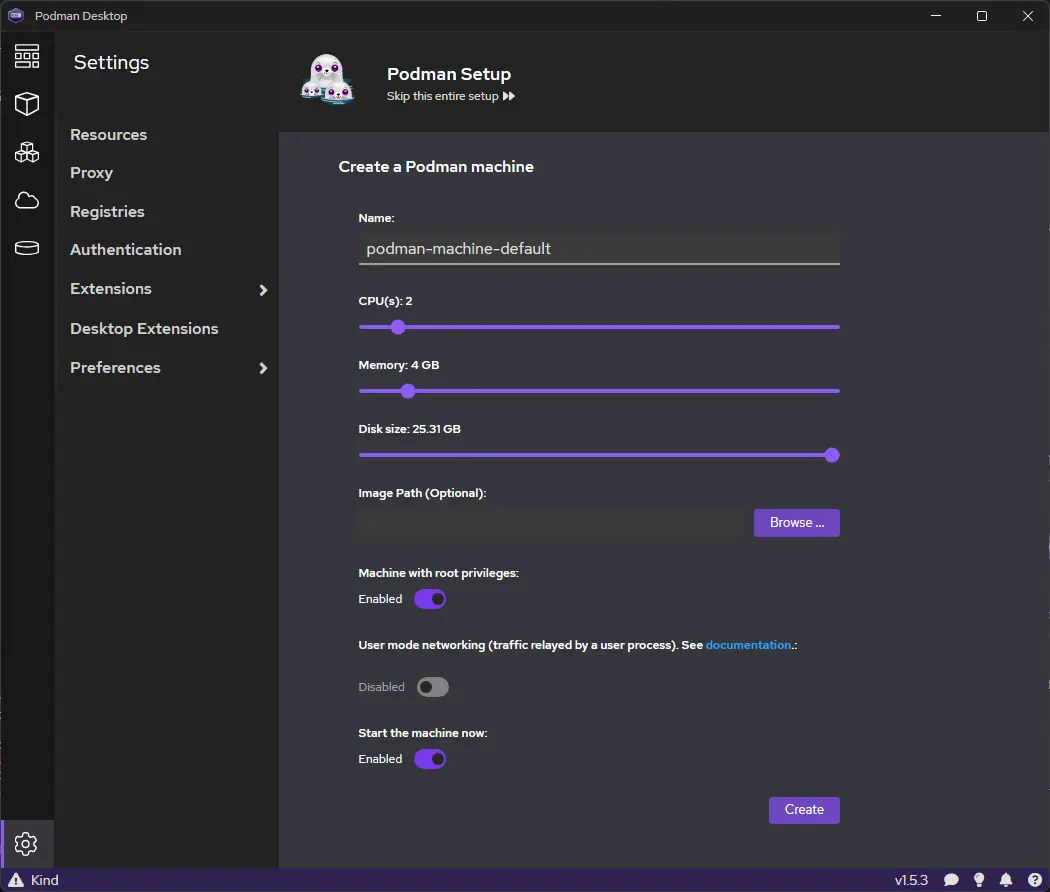
podman이 설치되고 나면, podman machine을 설정해 줍니다. 아쉽게도 podman에서는 Windows Container를 지원하지 않아서 podman machine을 통해서 linux VM을 생성하고, 해당 VM에서 container를 실행시키는 방식을 사용합니다. VM을 사용하기 위해서 VM의 이름과 cpu, memory, disk size 등을 설정해 줍니다.
위에서 Podman machine 관련 설정을 하고 나서 Create 버튼을 눌러서 machine을 생성한 뒤에는 아래처럼 podman이 성공적으로 설정되었다고 나옵니다.
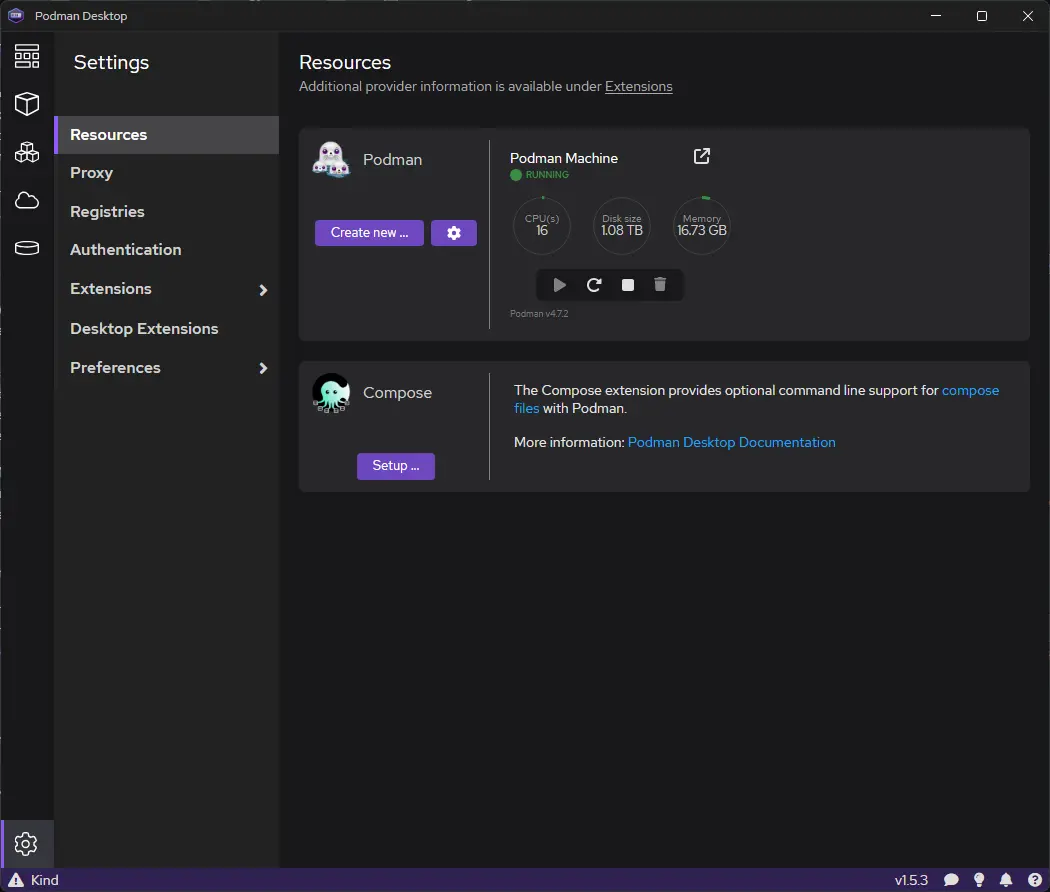
위 과정까지 완료되면 podman 설정이 완료되고 Settings > Resources에서 아래처럼 podman machine 사용량이 보이고, 현재 동작 중인지 등의 상태 등을 확인하실 수 있습니다. Podman Machine 글자 옆을 누르면 좀 더 큰 창에서 자세히 상태 및 로그를 확인하실 수 있습니다.
Podman Desktop으로 Pod 생성해보기
그러면 왼쪽 위에서 두 번째 아이콘을 클릭하면 현재 생성되어 있는 container를 확인할 수 있는 page가 나옵니다. 물론, 지금은 생성한 container가 없어서 아예 빈 창으로 나오게 됩니다.
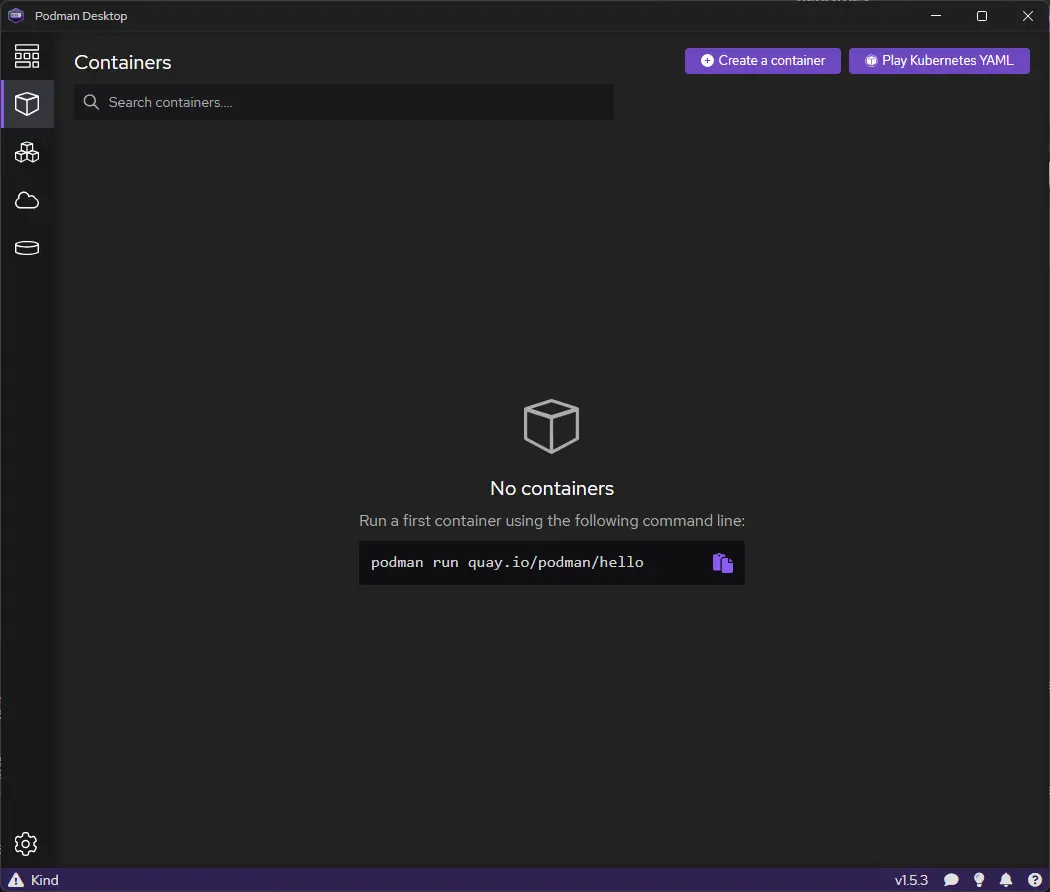
container를 생성하기 위해서 오른쪽에 Create a container를 눌러봅시다.
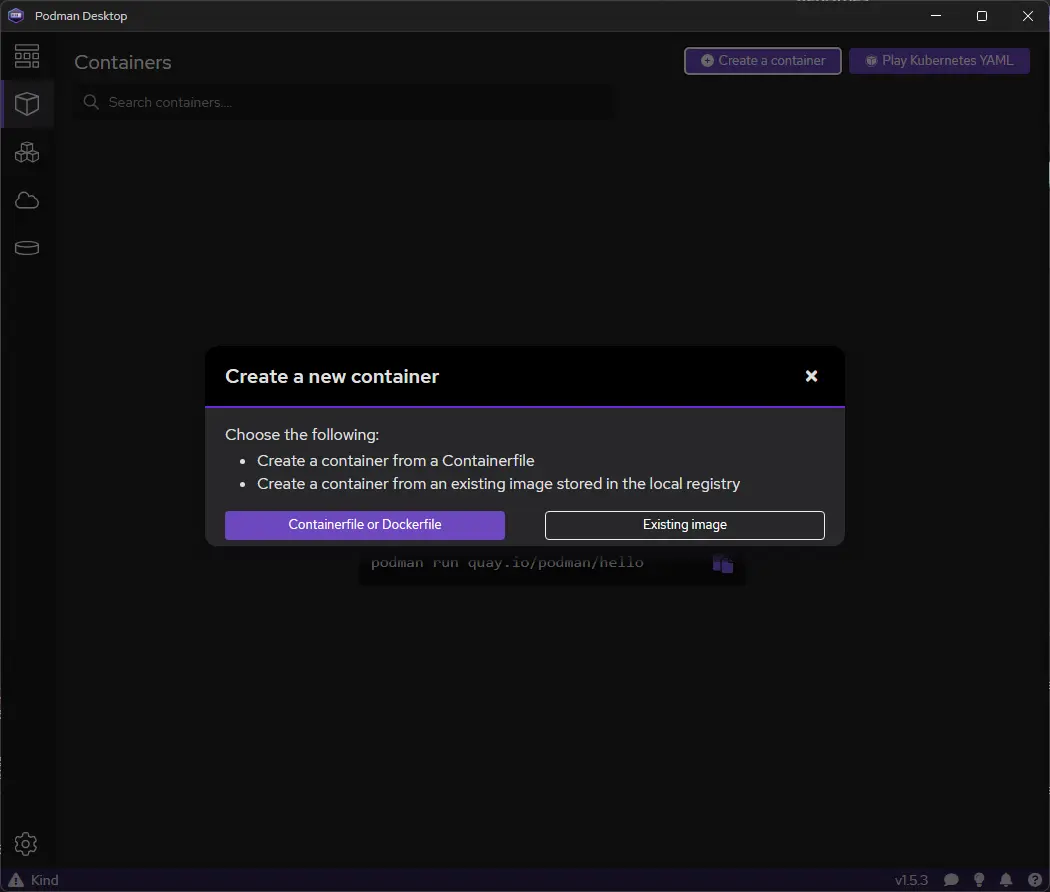
기존의 public에 올라온 이미지를 통해서 쉽게 container를 생성하기 위해서 Existing image를 선택합니다.

그러면 자동으로 Iamges page로 넘어가게 됩니다.(?) container의 경우 원래 local에 있는 image를 기반으로 실행되는 것이다보니 Podman Desktop에서는 local에 image가 있어야만 container를 생성할 수 있도록 제한하고 있습니다.
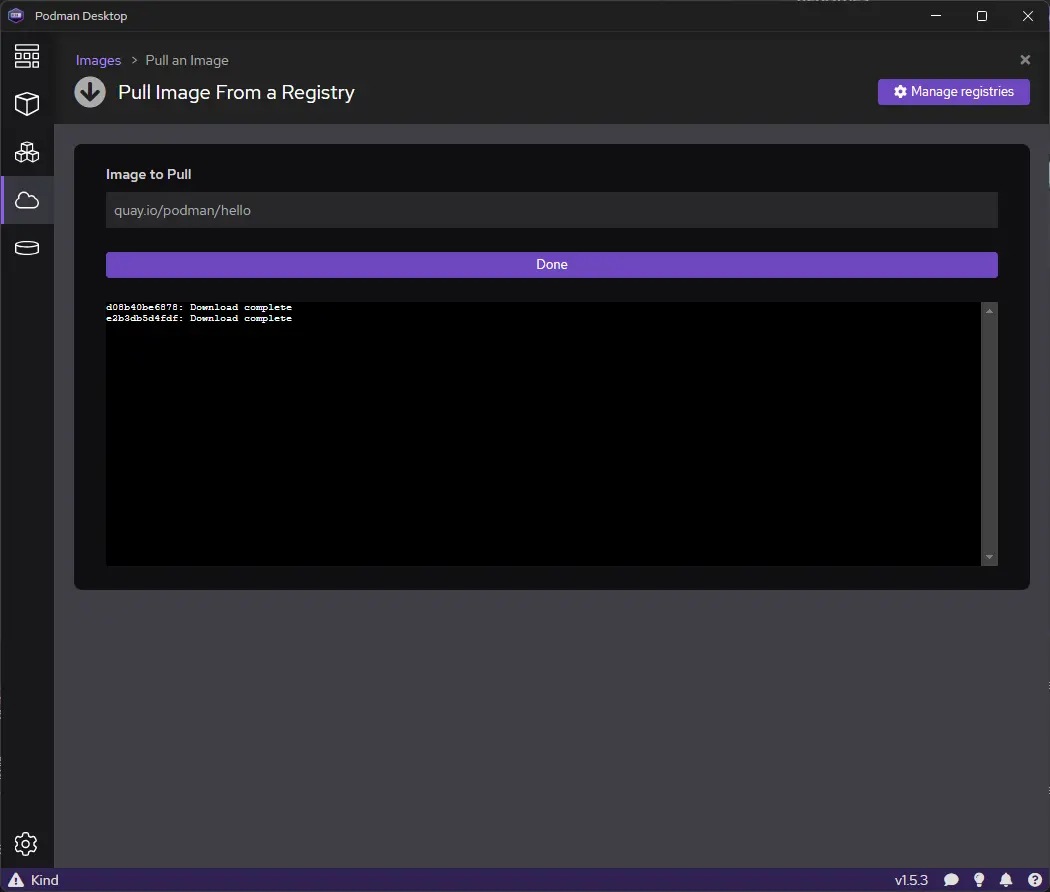
기존 Images page에서 보여주던 quay.io/podman/hello image를 먼저 pull 해보겠습니다.
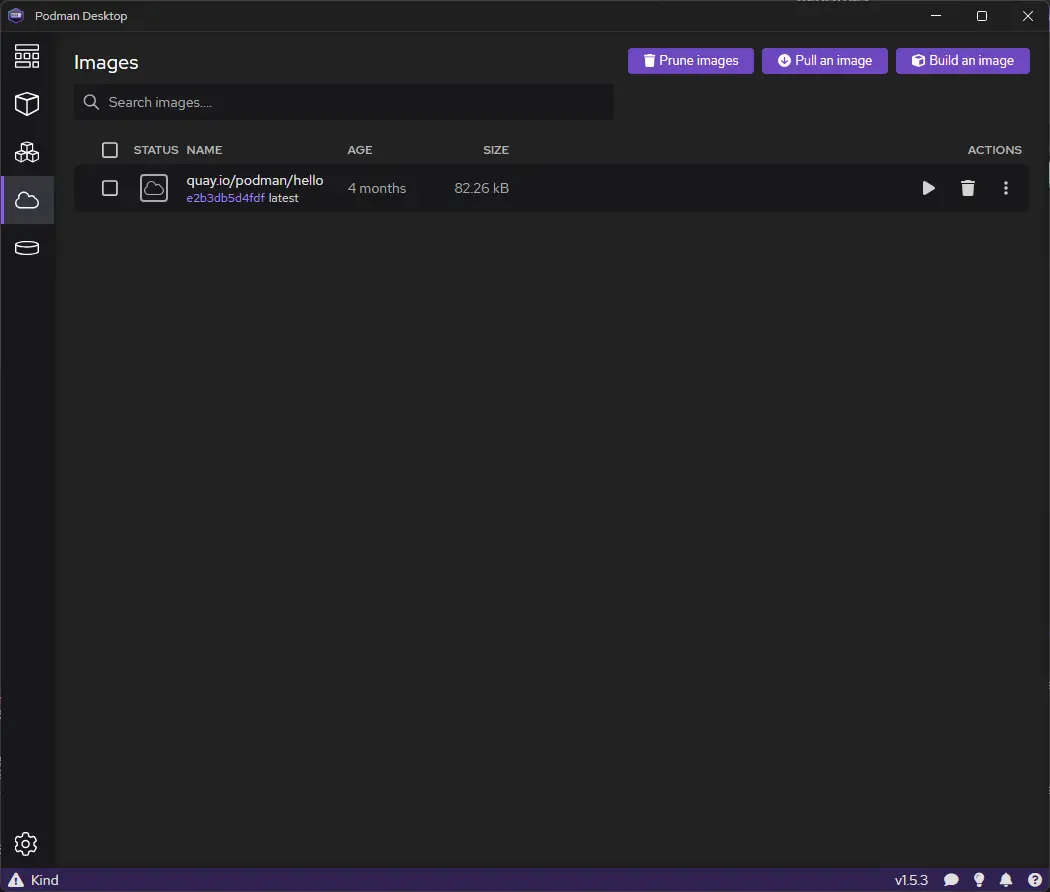
pull이 완료되고 나면 quay.io/podman/hello image가 Images page 목록에 보이게 되고, image의 digest, 크기 등이 표시되고 오른쪽 편에는 image로 container를 만들 수 있는 삼각형 버튼과 삭제할 수 있는 휴지통 아이콘도 보입니다. 그리고 마지막의 three-dot를 눌러보면 image name과 tag를 변경할 수 있는 Edit Image와 image의 History를 볼 수 있는 Show History 기능이 있습니다.
그럼 해당 image로 container를 생성하기 위해 오른쪽 편에 삼각형 버튼을 눌러보겠습니다.
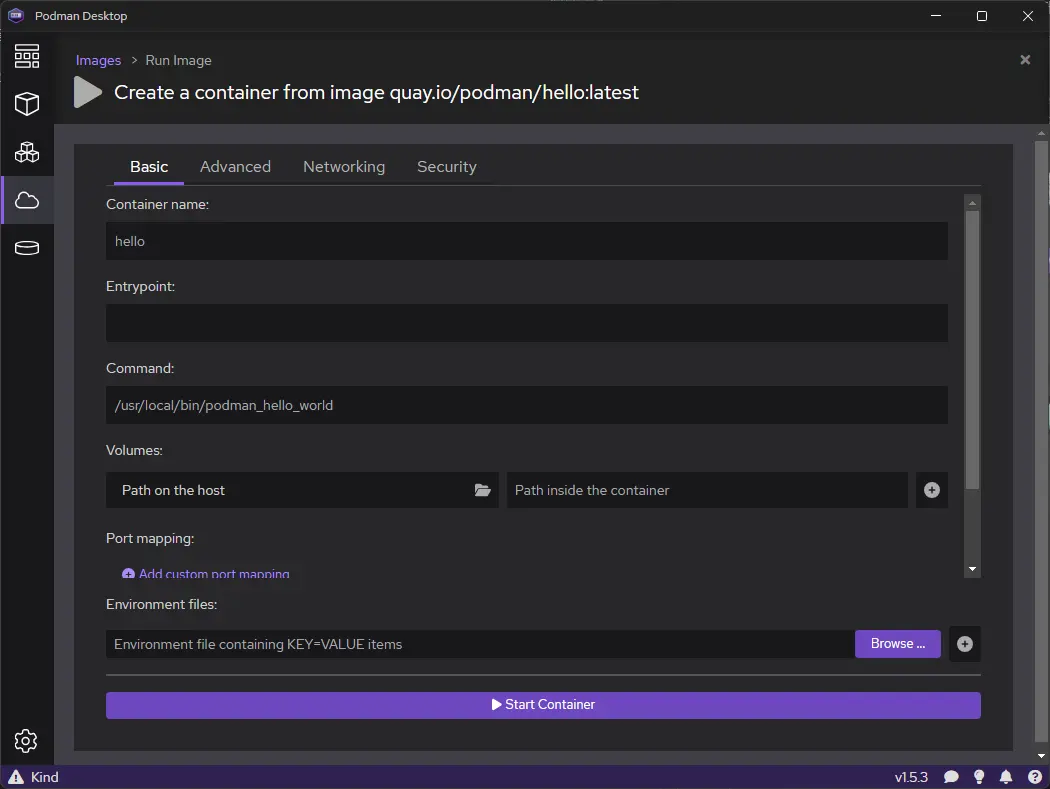
그러면 위처럼 container 설정을 할 수 있는 창이 나오게 됩니다. 현재 이미지는 단순히 log로 hello message를 보여주는 image이므로 Container name에 hello라는 이름만 명시해주고 Start Container 버튼을 눌러서 container를 생성해 보겠습니다.(만약 name을 명시하지 않을 경우 자동으로 생성됩니다.)
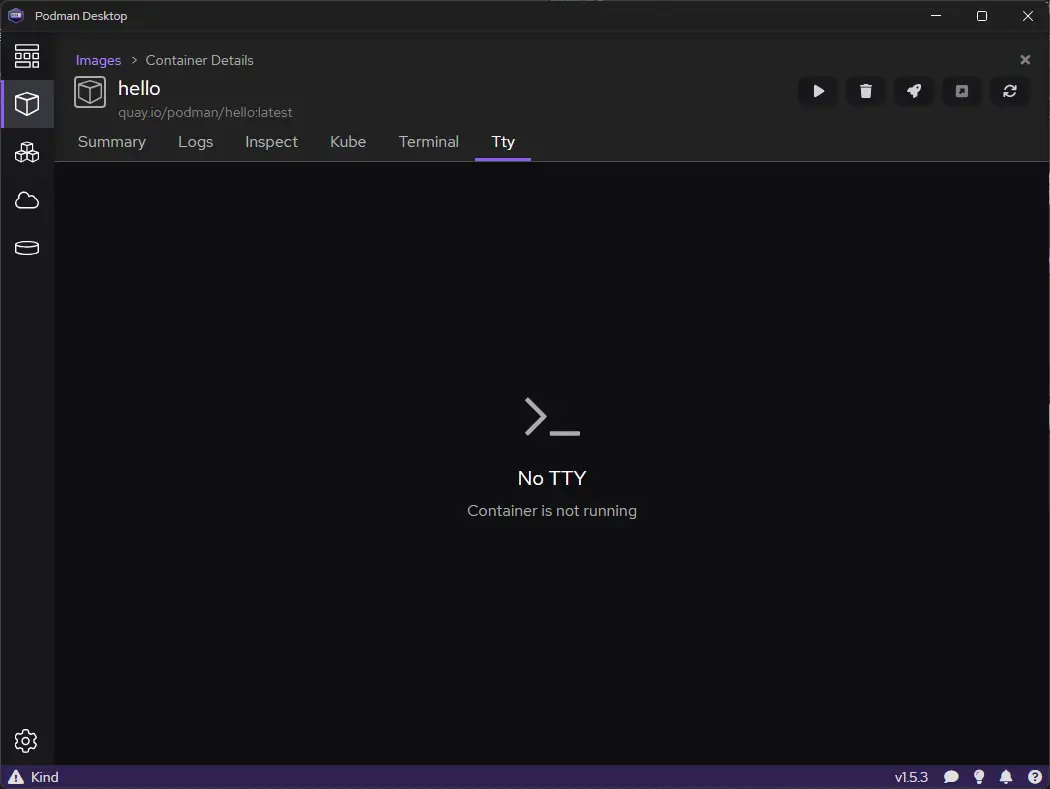
그러면 hello container가 생성되고 container detail page로 넘어가게 됩니다. 그러고 나면 tty tab을 가장 먼저 보여주게 됩니다. 하지만 현재 hello image의 경우 hello message가 출력되고 바로 종료되기 때문에 현재 tab에는 아무런 정보가 표시되지 않습니다. Logs tab을 눌러서 hello message가 나오는지 확인해봅시다.
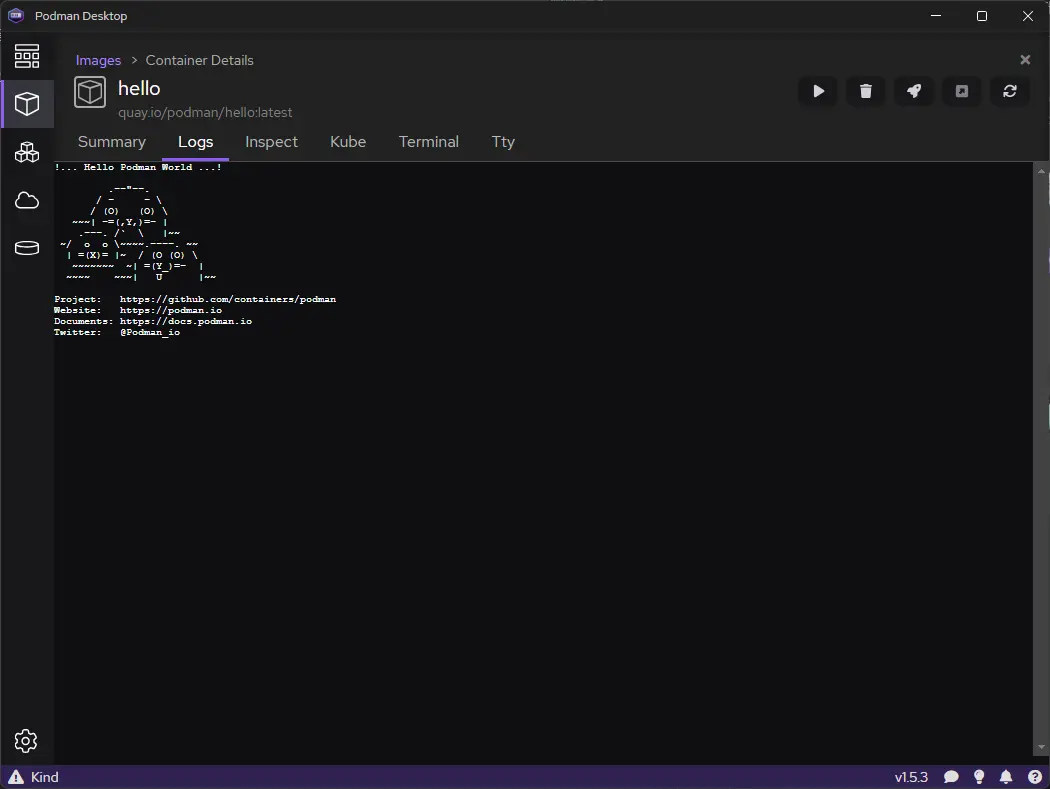
Logs tab에서는 귀여운 두더지 이미지(?)와 함께 Hello Podman World 라는 메세지가 출력되는 모습을 보실 수 있습니다.
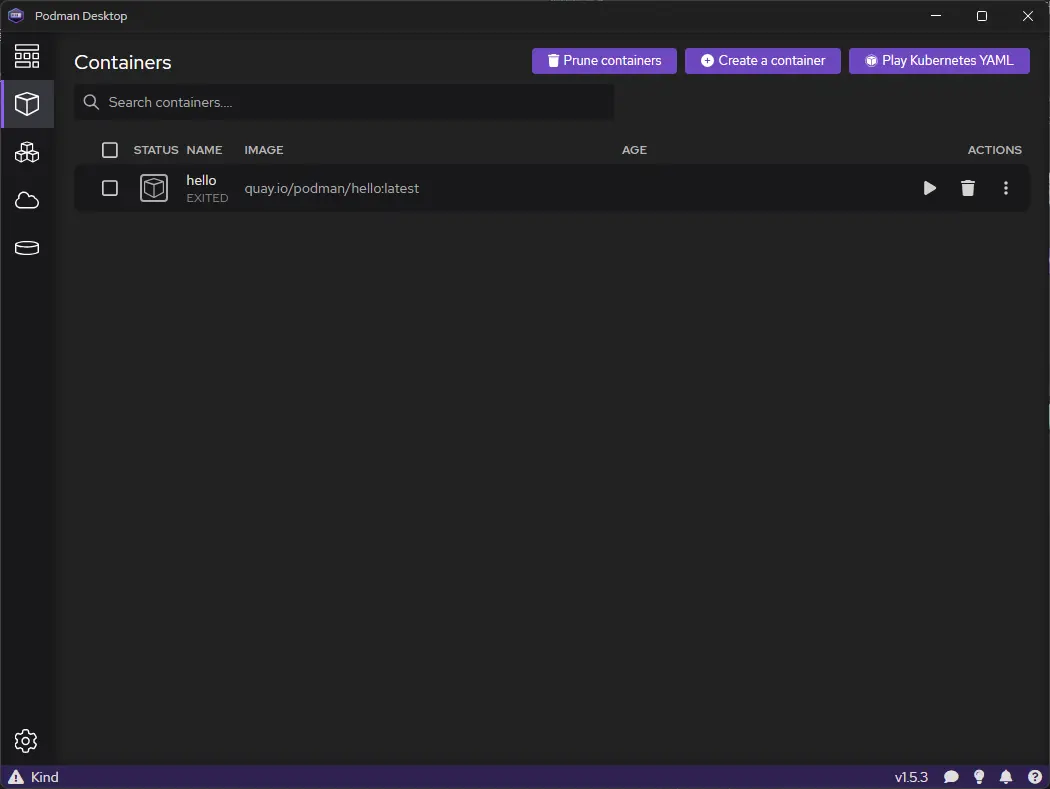
다시 왼쪽 위에서 두번 째 버튼을 클릭하면 현재 존재하는 container 목록이 나오고 저희가 생성한 hello container가 보입니다. log만 출력하고 완료되다보니 EXITED로 현재는 container가 종료된 상태인 것을 보실 수 있습니다. 테스트가 끝났으니 오른쪽 편에 휴지통 버튼을 누르시면 container를 삭제하실 수 있습니다.
Podman Desktop으로 NGINX 띄워보기
local 개발 시에 container를 이용하여 간단한 HTTP API Server를 띄우는 등의 작업을 많이 하실겁니다. 이러한 경우 많이 사용되는 Container의 Port 및 Volume 설정을 Podman Desktop에서는 어떻게 할 수 있는지 테스트해보도록 하겠습니다.
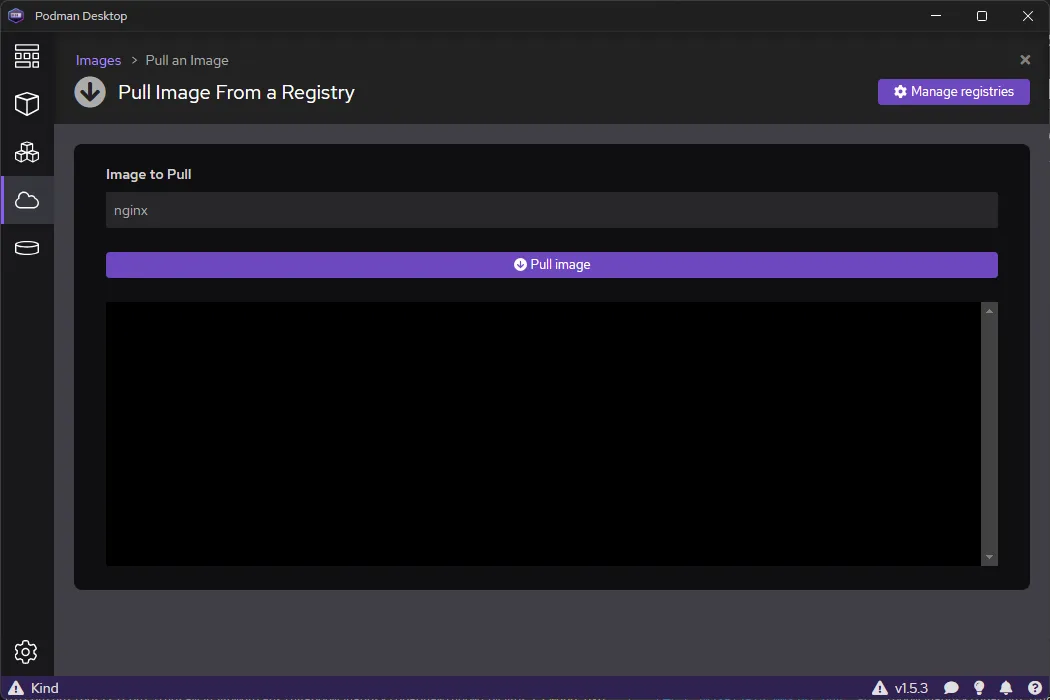
우선 위 처럼 images에서 nginx container image를 pull해보겠습니다. Image to Pull에 nginx를 입력하면 latest tag의 nginx container image를 pull 할 수 있습니다.
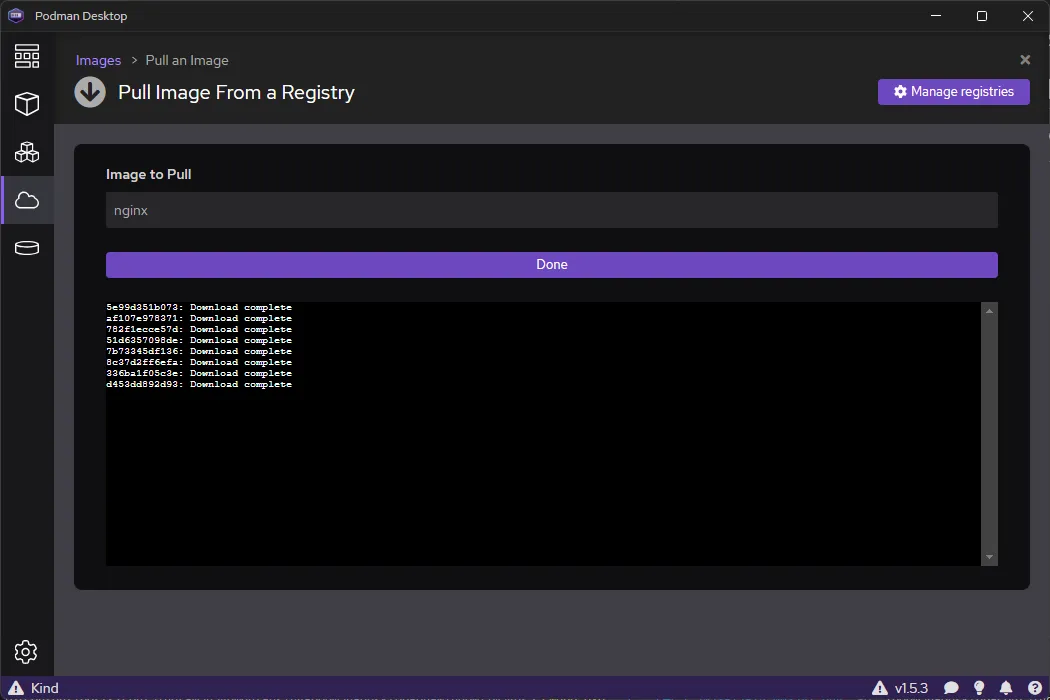
container image pull이 성공할 경우 위처럼 Download complete가 뜨게 됩니다.
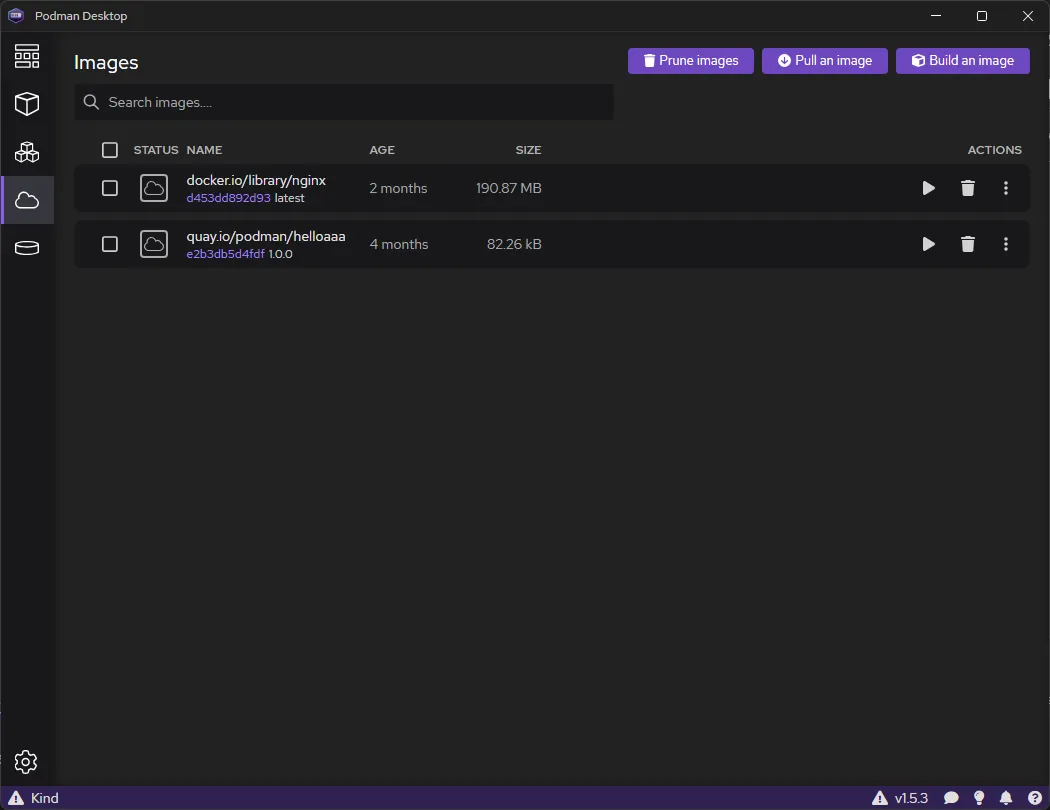
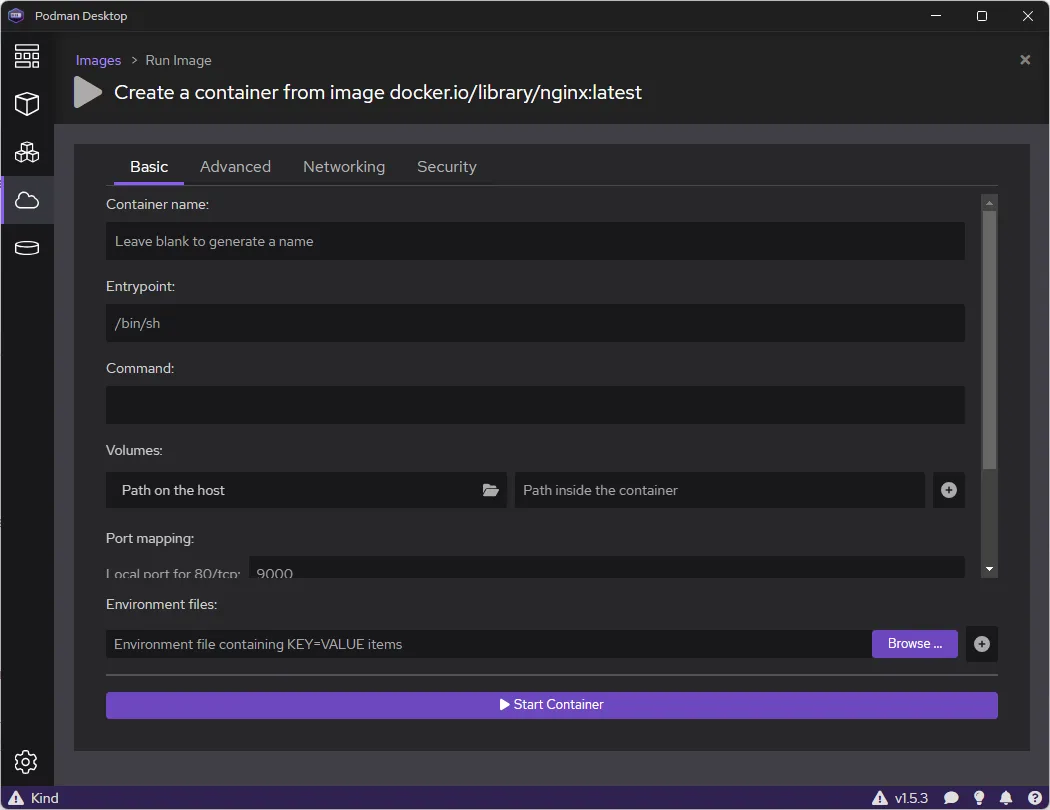
이제 Images에서 nginx image 오른쪽 편에 삼각형 버튼을 눌러서 해당 nginx container image로 container를 생성해 봅시다.
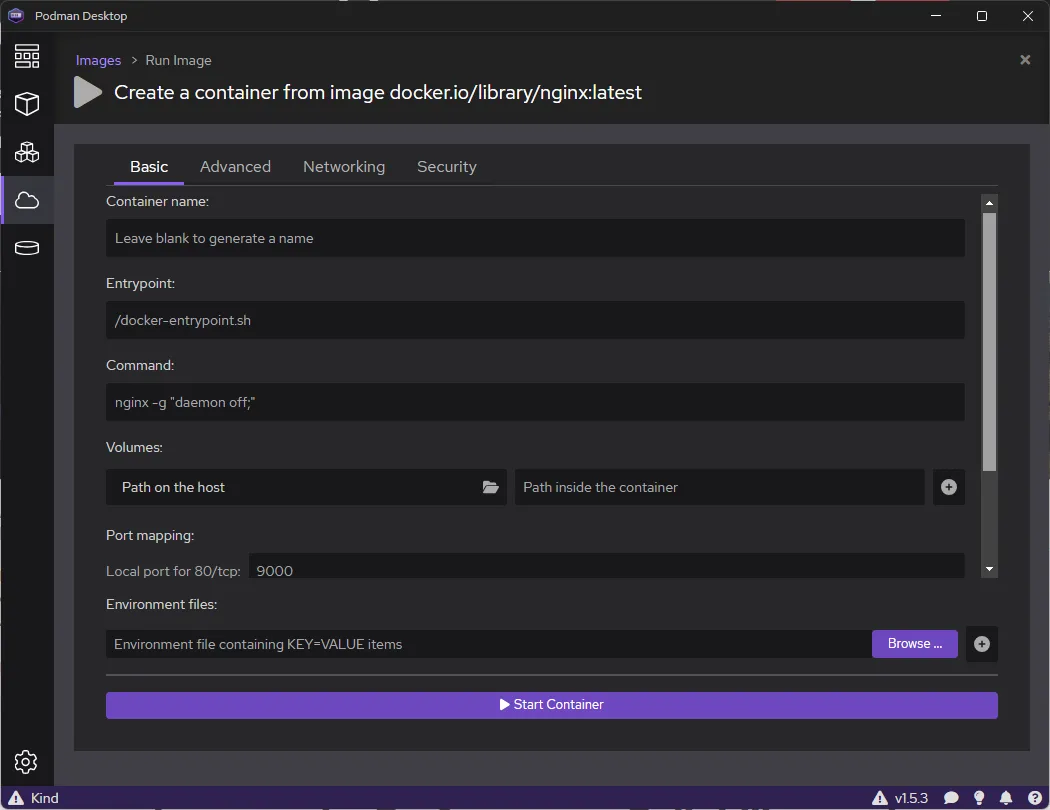
우선은 Port mapping 쪽을 보면 자동으로 port가 입력되어 있습니다. 이건 nginx dockerfile에 EXPOSE 명령어로 80 port로 port가 노출될 것이 명시되어 있으므로 podman desktop에서 자동으로 해당 80 port와 local machine의 9000 port가 mapping되도록 설정해줍니다. 혹시 다른 port로 호출하고 싶다면 9000이 아닌 다른 값을 설정해주시면 됩니다. 그 이외의 다른 부분은 수정 없이 Start Container로 container를 생성해 봅시다.
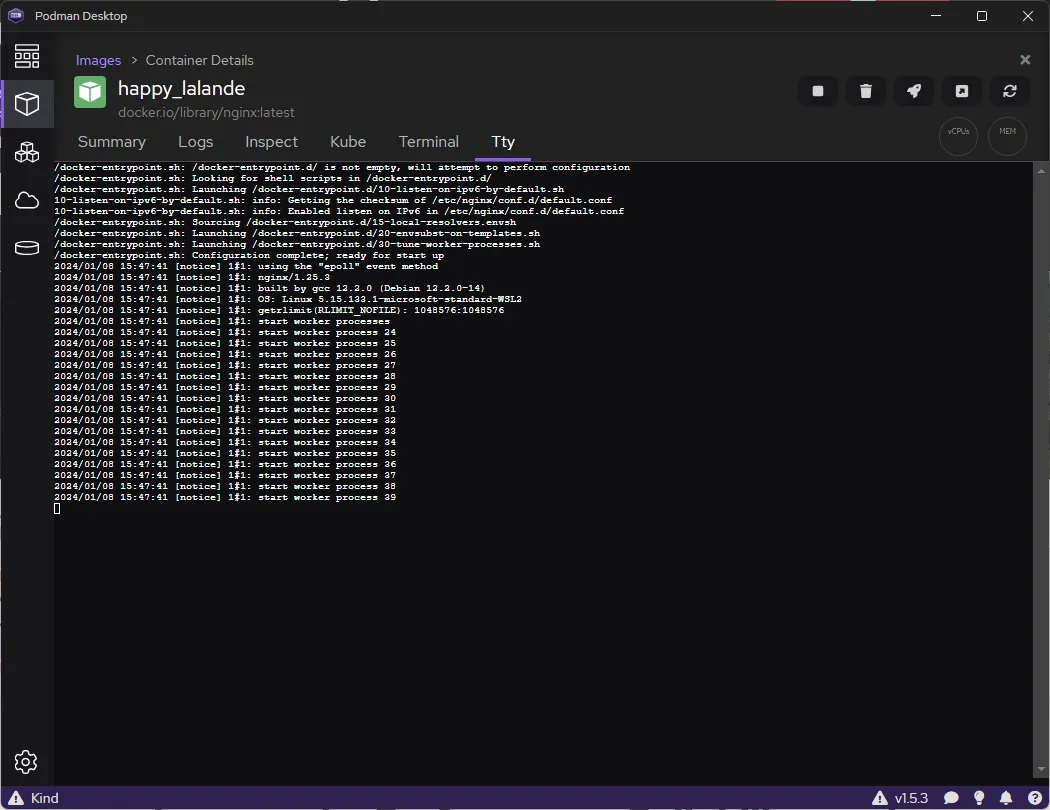
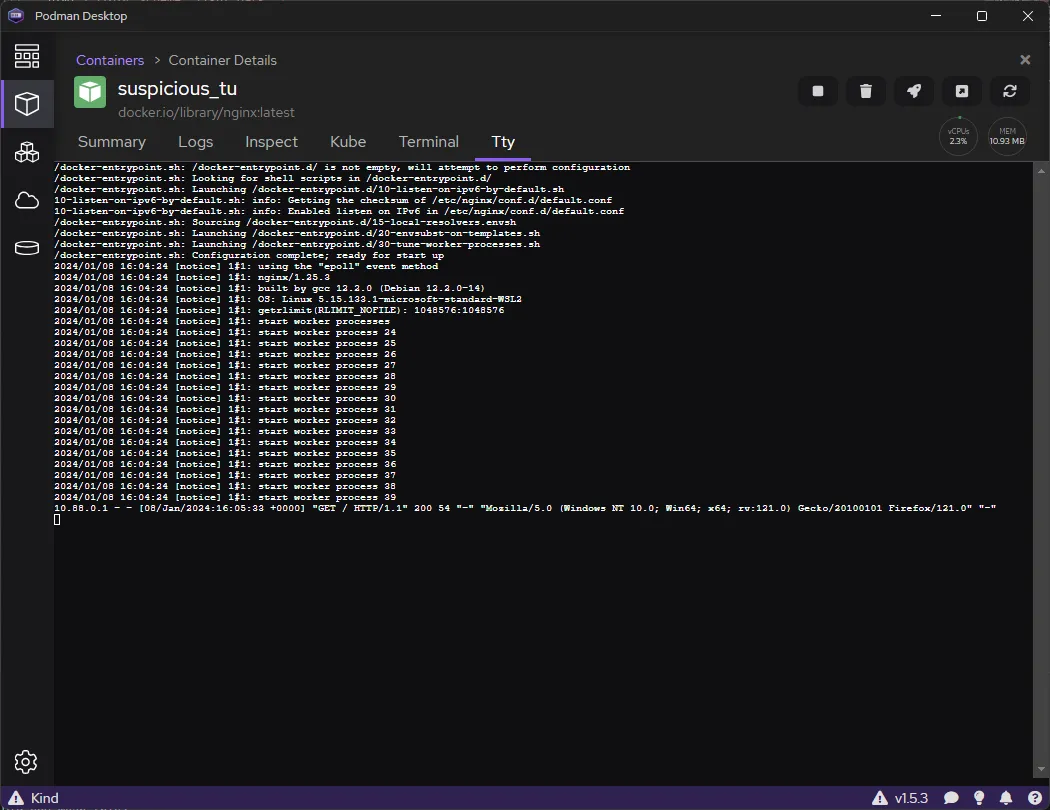
생성이 되고 나면 위처럼 nginx log들이 나오면 nginx conatiner가 제대로 뜬 것입니다.
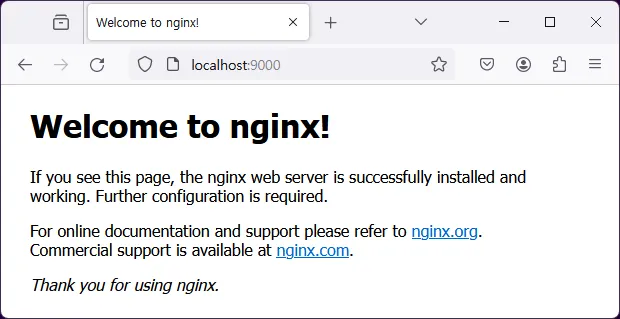
그리고 위처럼 browser에서 localhost:9000으로 접속해보면 nginx의 기본 welcome page가 나오는 것을 확인하실 수 있습니다.
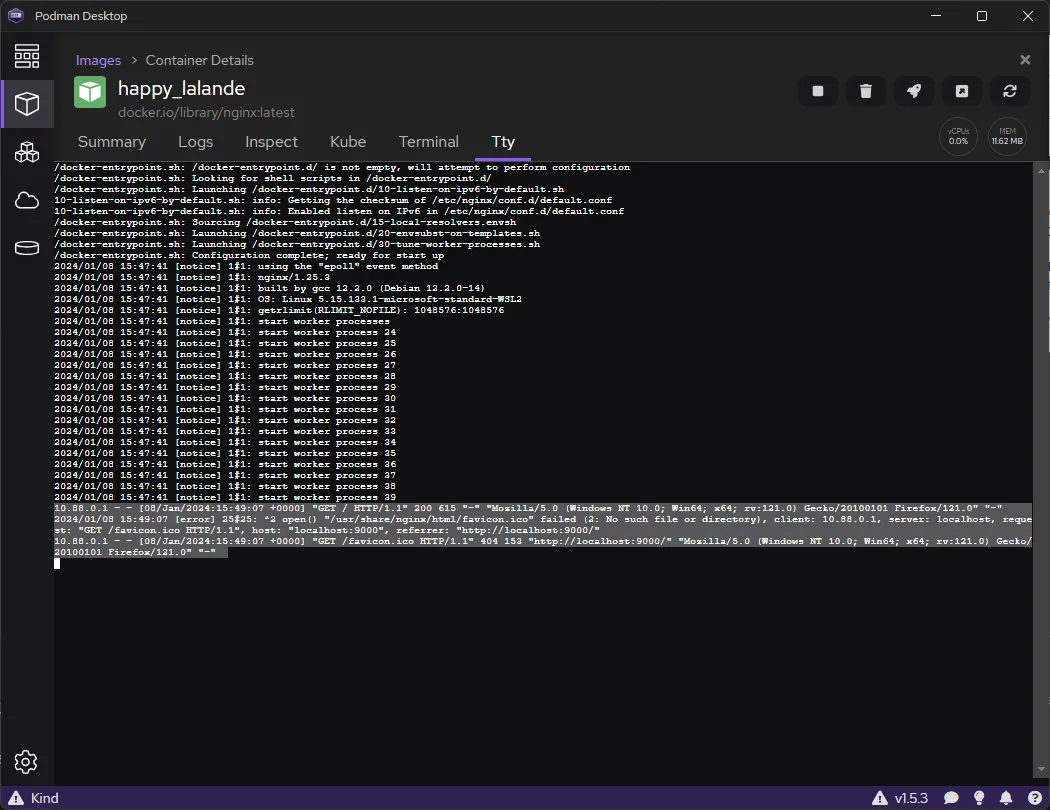
그 이후 podman desktop을 보시게 되면 드래그해둔 것처럼 access-log가 찍힌 것을 보실 수 있습니다.(favicon.ico는 기본 nginx image에서는 없어서 file을 open하지 못했다는 log도 보이네요)
저희는 해당 welcome page를 변경해보도록 하겠습니다. 그러기 위해선 현재 html file들이 어디에 있는지 확인해볼 필요가 있습니다. Entrypoint와 Command를 기본 값을 지우고 Entrypoint에는 /bin/sh를 설정해서 sh를 실행하도록 변경해보겠습니다.
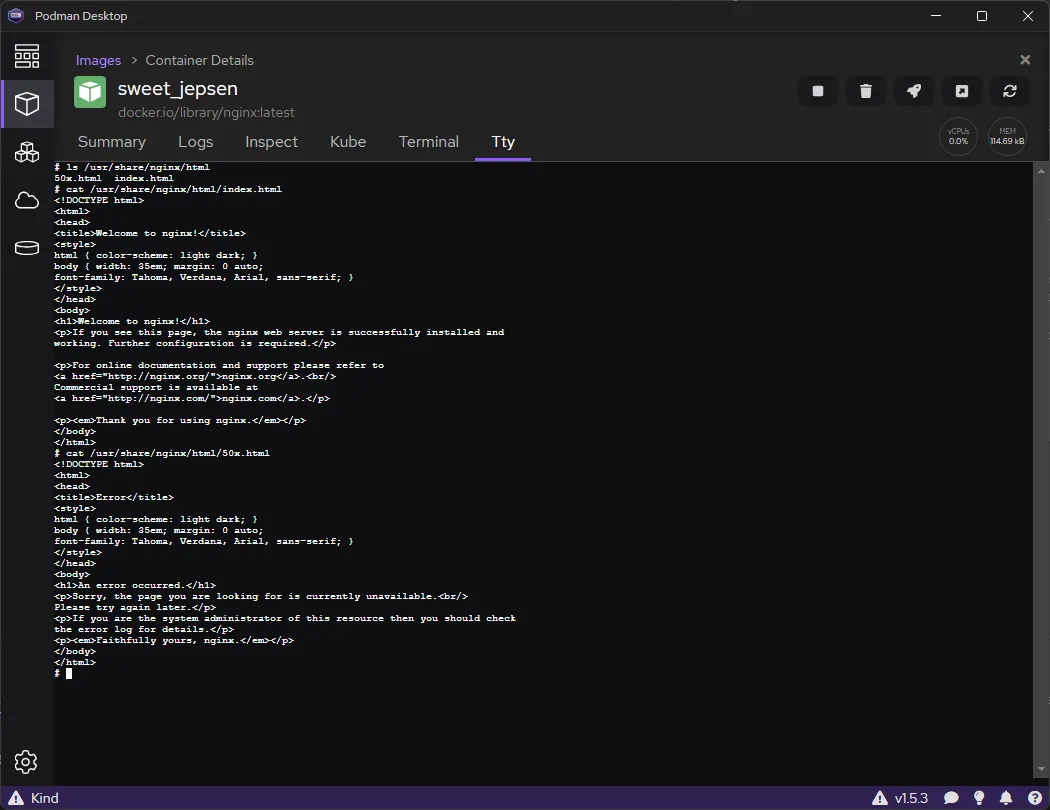
정상적으로 생성이 되면 기존 Tty page에서 container image에서 sh로 file들을 조회하는 등의 명령어를 입력해볼 수 있습니다. nginx는 /usr/share/nginx/html directory에 default html file들이 존재합니다. 그래서 아래처럼 ls, cat 명령어를 통해 기본 html directory의 file들과 file의 내용을 확인해볼 수 있습니다.
$ ls /usr/share/nginx/html
50x.html  index.html
$ cat /usr/share/nginx/html/index.html
<!DOCTYPE html>
<html>
<head>
<title>Welcome to nginx!</title>
<style>
html { color-scheme: light dark; }
body { width: 35em; margin: 0 auto;
font-family: Tahoma, Verdana, Arial, sans-serif; }
</style>
</head>
<body>
<h1>Welcome to nginx!</h1>
<p>If you see this page, the nginx web server is successfully installed and
working. Further configuration is required.</p>

<p>For online documentation and support please refer to
<a href="http://nginx.org/">nginx.org</a>.<br/>
Commercial support is available at
<a href="http://nginx.com/">nginx.com</a>.</p>

<p><em>Thank you for using nginx.</em></p>
</body>
</html>
저희가 바꾸고 싶은 html file을 생성하고 해당 directory를 nginx container에 mount시켜보도록 하겠습니다.
$ mkdir ~/nginx
$ echo "<html><body><h1>This is test page.</h1></body></html>" >> ~/nginx/index.html
$ cat ~/nginx/index.html
<html><body><h1>This is test page.</h1></body></html>
powershell에서 ~/nginx란 임시 directory를 생성하고 해당 directory에 index.html file을 생성합니다. (위에서는 This is test page란 문구가 보일 수 있도록 index.html을 작성해 보았습니다.)
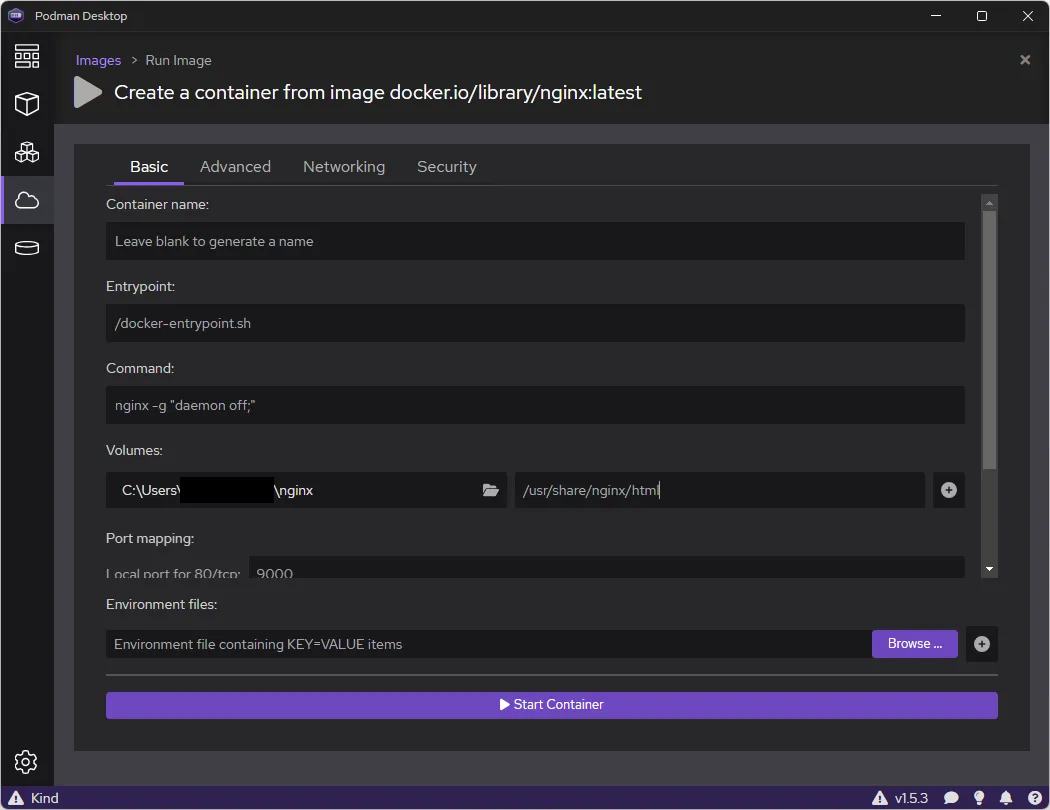
그리고 다시 nginx container를 생성할 때, Volumes에서 순서대로 C:\Users\USER_NAME\nginx, /usr/share/nginx/html을 입력해줍니다.(folder 그림을 클릭하여 explorer로 folder를 찾아서 지정할 수도 있습니다.) 왼쪽은 podman machine의 directory이고, 오른쪽은 nginx container의 directory 입니다. 그러고 Start Container를 눌러서 container를 생성해봅시다.
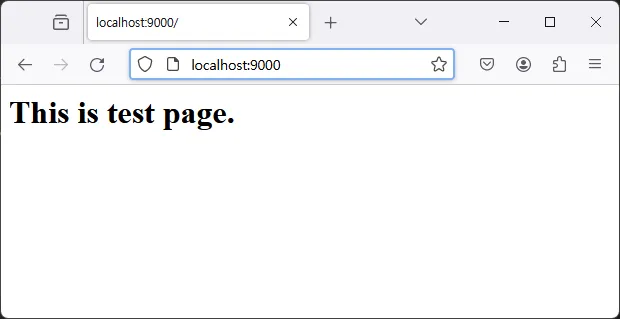
container가 정상적으로 생성되고, 다시 browser에서 localhost:9000으로 접속해보면 This is test page.가 나오면서 index.html이 정상적으로 변경된 모습을 확인하실 수 있습니다.
그리고 Podman Desktop에서도 Access log를 확인해보실 수 있습니다.
마치며
Podman Desktop에서 image를 미리 pull 하고 container를 생성하는 식으로 되어 있다보니 기존 CLI를 사용하는 입장에서는 불편하다는 느낌이 있지만 docker CLI를 많이 사용하지 않은 분들 입장에서는 차근차근 생성할 수 있어서 Container를 이해하는데 도움이 될 것 같습니다. 그리고 Port도 expose가 되어 있는 image라면 자동으로 mapping되고, volume의 경우도 explorer를 사용해서 folder를 지정하는 등의 방식도 가능한 부분 등은 좋았던 것 같습니다.
Podman Desktop이 빠르게 발전하여 Container를 생성하고 관리하는데 많은 분들이 도움이 되었으면 좋겠습니다. 감사합니다.
Comments